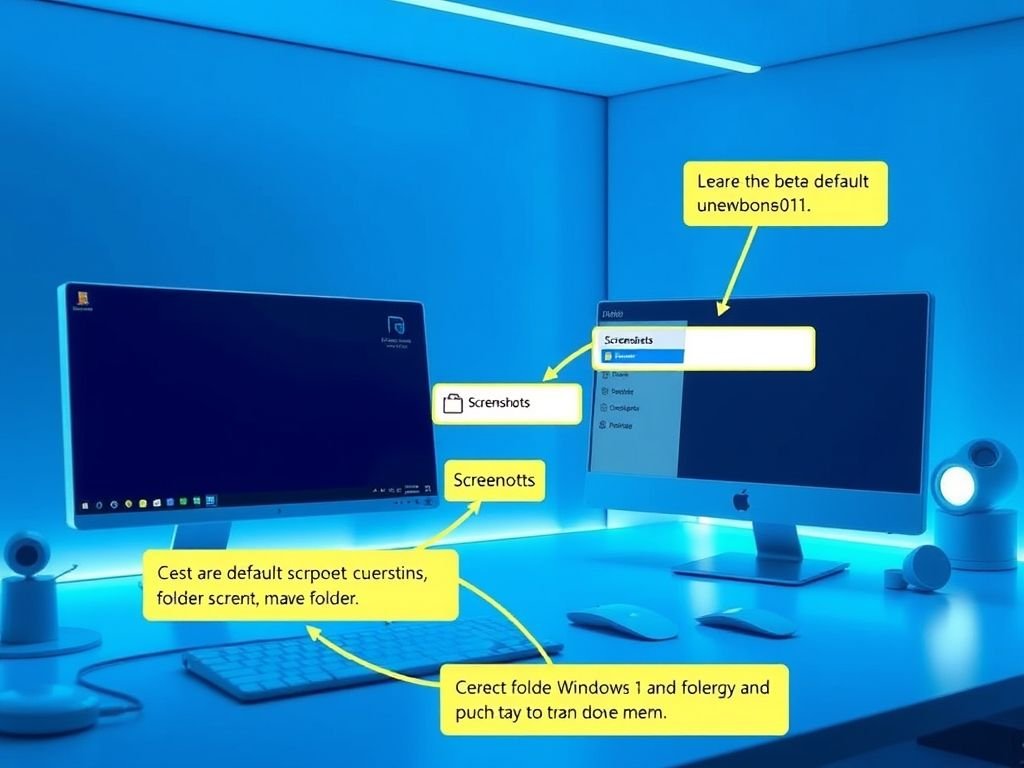
Customize Your Screenshot Save Location in Windows
Windows 10 and 11 offer multiple ways to take screenshots, and the built-in Snipping Tool is one of the most user-friendly options (though many still rely on the classic Print Screen key for quick captures). By default, both methods save screenshots in the Screenshots folder located inside your Pictures directory on drive C.
But what if you want them saved somewhere else? Whether it’s due to limited space on your system drive or simply better file organization, changing the default screenshot folder is a straightforward process.
Below are three different methods to help you move where your screenshots are saved — choose the one that works best for you.
🛠 Option 1: Change the Location via Snipping Tool Settings
Microsoft has recently updated the Snipping Tool to include an easy way to change the default screenshot folder. Here’s how to use it:
- Open the Snipping Tool from the Start menu.
- Click the three-dot menu (⋯) in the top-right corner. You may need to resize the window to see it clearly.
- Scroll down until you find the option labeled:
“Automatically save original screenshots.” - Click the arrow icon next to it, then select Change under “Screenshots are saved to.”
- Choose your preferred folder and click Select Folder .
📌 Note: There’s also a separate setting for screen recordings . If you want to change that location too, repeat the steps under the “Automatically save original screen recordings” section.
💡 Tip: You can turn off automatic saving if you prefer to manually choose where to store each screenshot after capture.
🗂 Option 2: Move the Screenshots Folder via File Explorer
This method affects screenshots taken using both the Snipping Tool and the Win + PrintScreen shortcut.
- Open File Explorer .
- Navigate to your Pictures folder — it’s usually pinned to the left-hand navigation pane.
- Locate the Screenshots folder and right-click it.
- Select Properties from the context menu.
- Go to the Location tab and click Move .
- Browse to your desired folder and click Select Folder .
- When prompted, choose whether to move existing screenshots to the new location.
🔁 Want to revert back? Just return to the same screen and click Restore Default .
⚠️ Important: This method only works for the Screenshots folder. The Screen Recordings folder doesn’t support this kind of relocation directly. However, you can move the entire Videos folder using the same technique if needed.
✅ Final Thoughts
Changing where Windows saves your screenshots is a small tweak that can make a big difference in keeping your files organized and your system running smoothly. Whether you prefer using the Snipping Tool , File Explorer , or even the Registry Editor , there’s a method here that fits your comfort level.
If you’re using third-party apps like Snagit or ShareX , remember that their screenshot locations are controlled separately through their own settings.
Now that you know how, never lose another screenshot again!
